Mouthwatering Chocolate Bread: Bake It at Home
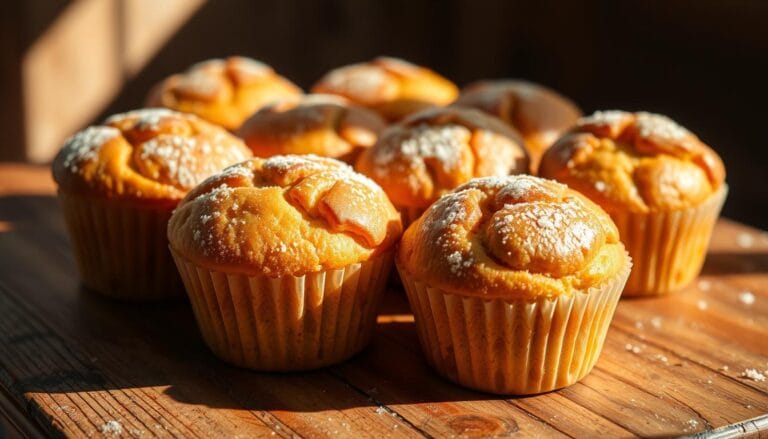
The smell of freshly baked chocolate bread can turn any kitchen into a cozy haven. I recall the first time I took a warm chocolate loaf out of the oven. The air was filled with the scent of rich chocolate, promising a tasty journey ahead.
Making chocolate bread at home is more than just baking. It’s about creating a special experience that connects you to baking traditions passed down through generations. This recipe makes it easy to create a beautiful loaf with lots of flavor.
Whether you’re new to baking or have been doing it for years, this recipe will encourage you to dive into the world of homemade bread. Each slice of this chocolate bread is a story of warmth, creativity, and indulgence.
Table of Contents
Key Takeaways
- Chocolate bread is surprisingly easy to make at home
- No complex kneading techniques required
- Perfect for both beginners and experienced bakers
- Offers a delightful blend of chocolate and bread textures
- Can be customized with various chocolate and mix-in options
Understanding the Magic of Chocolate Bread
Chocolate bread is a mix of art and passion in the kitchen. It starts with knowing its rich history and special qualities. These make it different from regular bread.

Origins and Evolution of Chocolate Bread
The story of chocolate bread goes back to Europe’s pastry traditions. Bakers in France and Switzerland created new ways to make bread with chocolate. They started in the late 1800s, mixing cocoa powder with bread-making.
- French bakeries first experimented with chocolate integration
- Swiss chocolatiers influenced bread-making techniques
- Chocolate bread evolved from luxury item to home-baking favorite
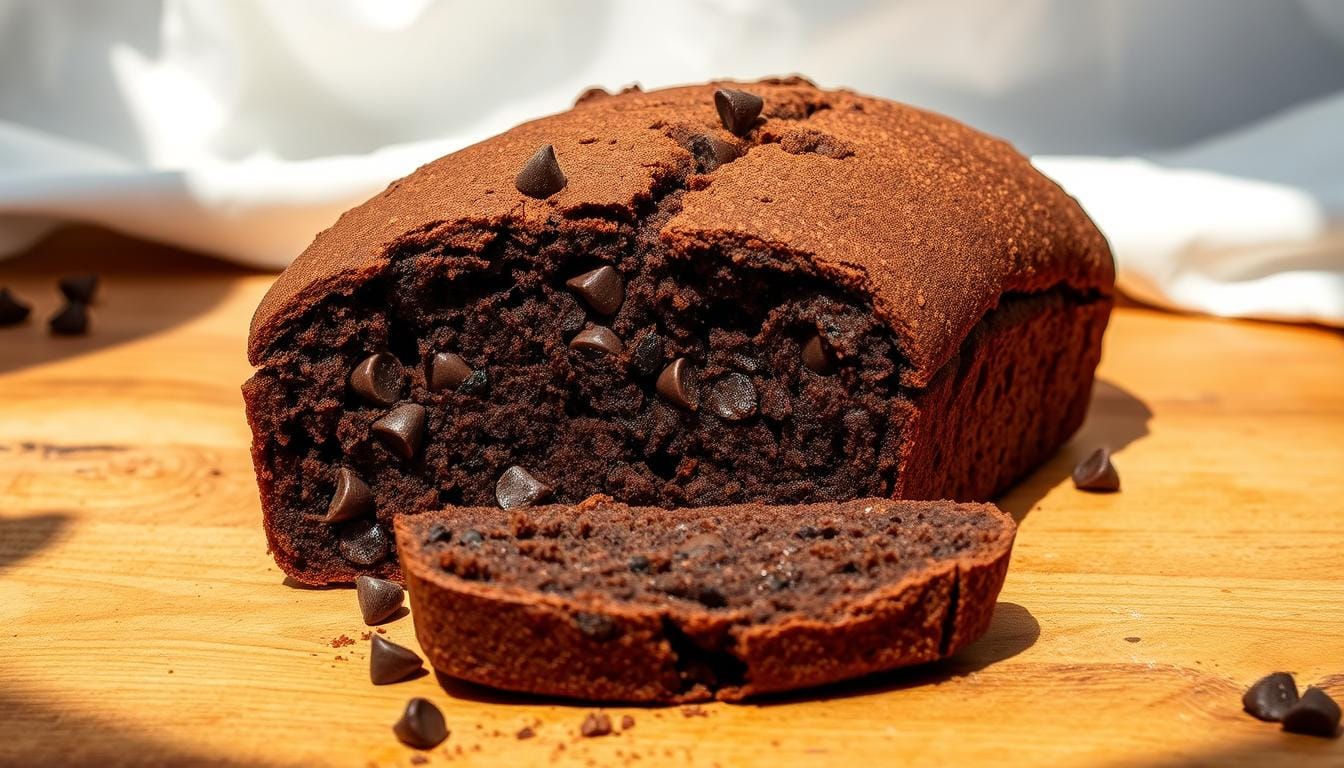
What Makes This Recipe Special
This recipe is special because of its focus on quality. It uses top-notch cocoa powder and chocolate chunks. This makes the bread taste rich and feel like real bread.
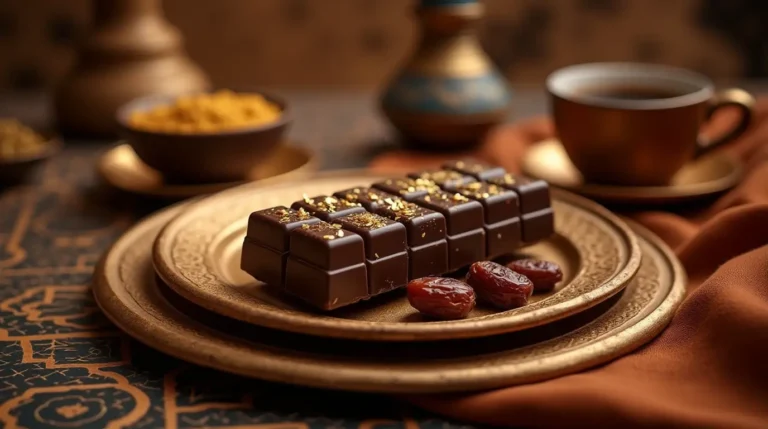
Health Benefits of Dark Chocolate in Baking
Dark chocolate is not just tasty; it’s also good for you. In chocolate bread, it adds antioxidants and health perks. Dark chocolate has flavonoids that might help your heart and make you feel better.
- Rich in antioxidants
- Potential cardiovascular benefits
- Mood-boosting properties
Your journey with chocolate bread is a mix of creativity and health. It turns a simple recipe into something amazing.
Essential Ingredients for Perfect Chocolate Bread
Making great bread recipe begins with the right ingredients. Quality ingredients turn a simple recipe into a treat that wows everyone.
Let’s look at the key ingredients for amazing bread dessert:
- Bread Flour: It’s the base, giving your bread its structure and texture
- Unsweetened cocoa powder: It adds a deep, rich chocolate taste
- Granulated sugar: It balances the cocoa’s bitterness
- High-quality salt: It boosts the overall flavor
- Instant yeast: It makes the bread rise right and stay soft
For bread recipe lovers, using top-notch ingredients is key. Bittersweet chocolate chips make the bread even better, adding chocolatey pockets to your loaf.
Success in your chocolate bakery depends on the quality of your ingredients. Experts suggest using:
- Dark cocoa powder with at least 70% cocoa content
- Organic, unrefined sugar
- Fresh, active instant yeast
- Extra virgin olive oil for extra richness
Pro tip: Always measure ingredients carefully and make sure they’re at room temperature. This helps with mixing and texture.
Required Tools and Equipment
Making delicious chocolate sweets needs the right tools and equipment. Whether you’re new to baking or have lots of experience, the right kitchen tools make baking bread fun and easy.
Before starting to make your chocolate desserts, get these essential tools. They will help you bake successfully.
Basic Kitchen Tools
- Large mixing bowl
- Measuring cups and spoons
- Glass measuring jug
- Kitchen scale
- Wooden or silicone spoon
- Plastic wrap or shower cap
Specialized Baking Equipment
- Cast iron Dutch oven (8-quart size recommended)
- Bread lame or sharp kitchen knife
- Parchment paper
- Cooling rack
Optional Helpful Items
These tools are not necessary but can make baking chocolate bread better:
- Digital kitchen thermometer
- Bench scraper
- Proofing basket
- Kitchen timer
Buying good baking tools helps you make amazing chocolate sweets at home. Each tool is important for getting the right texture and taste in your recipe.
The Science Behind No-Knead Chocolate Bread
Making tasty chocolate treats at home is easy. The no-knead method changes how we bake bread. It uses time instead of kneading to make amazing chocolate goodies with little effort.
Gluten forms naturally over time. Letting the dough rest for a long time lets enzymes work. This creates protein structures without kneading. The science behind it is fascinating.
- Enzymatic protein breakdown
- Yeast-driven fermentation
- Molecular gluten network development
Yeast breaks down carbs slowly, releasing flavors. This makes your recipe taste richer. It’s a big difference from quick-rise methods.
| Fermentation Factor | Impact on Bread |
|---|---|
| Time | Enhances flavor complexity |
| Temperature | Influences yeast activity |
| Hydration | Supports gluten development |
Knowing these science facts lets you make incredible chocolate bread. The no-knead method shows that patience and science can lead to amazing baking. It’s all about the little effort you put in.
Step-by-Step Mixing Process
Making the perfect chocolate bread needs careful mixing. It’s all about balancing dry and wet ingredients. Let’s go through the steps to make your cocoa bread moist and tasty.
Preparing the Dry Ingredients
First, gather your dry ingredients for the chocolate bread. You need a solid base for your cocoa bread. Measure and mix these key elements carefully:
- High-quality all-purpose flour
- Rich cocoa powder
- Granulated sugar
- Salt
- Active dry yeast
Combining Wet Ingredients
Wet ingredients are key for your chocolate bread’s texture. They help make a smooth, elastic dough that rises well.
- Use room temperature water
- Select a neutral cooking oil
- Consider adding vanilla extract for depth
Proper Mixing Techniques
The secret to amazing chocolate bread is gentle mixing. Avoid overmixing to prevent tough gluten strands. Here’s how to mix:
- Whisk dry ingredients thoroughly
- Create a well in the center of dry ingredients
- Pour wet ingredients gradually
- Stir until just combined
- Stop mixing when a shaggy dough forms
Pro tip: Aim for a slightly rough-looking dough. It will get smoother during fermentation. Don’t mix too much at first.
Mastering the Fermentation Process
Fermentation is key to making an amazing chocolate loaf. It’s what turns your bread into something special. This stage might seem mysterious, but it’s easy with the right steps.
During fermentation, your loaf gets deep flavors and a great texture. Yeast and bacteria work together. They break down flour and create air pockets, making bread so enjoyable.
- Ideal fermentation temperature: 68-72°F
- Recommended fermentation time: 12-18 hours
- Cover your dough with plastic wrap and a clean kitchen towel
Your environment is crucial for fermentation. Warmer rooms speed it up, while cooler ones slow it down. Keeping a steady temperature is key for perfect development.
| Temperature Range | Fermentation Impact |
|---|---|
| Below 60°F | Very slow fermentation, minimal flavor development |
| 68-72°F | Optimal fermentation, rich flavor profile |
| Above 80°F | Rapid fermentation, potential over-proofing |
Look for signs of good fermentation: bubbles, a sour smell, and a soft, puffy dough. Patience is your greatest tool for a stunning chocolate loaf that will wow everyone.
Shaping and Proofing Techniques
Making the perfect chocolate pastry needs two key steps: shaping and proofing. These steps turn simple ingredients into a tasty chocolate bakery-style bread. It will wow even the pickiest bakers.
Creating the Perfect Loaf Shape
Shaping your chocolate bread is an art that affects both looks and feel. Here are the main steps to get a pro-looking loaf:
- Gently remove the dough from the mixing bowl
- Place the dough on a lightly floured surface
- Use gentle stretching motions to create tension
- Fold the edges toward the center systematically
- Roll the dough into a smooth, tight ball
Understanding Proofing Signals
Proper proofing is key for your chocolate bakery-style bread to have the right texture and taste. Watch for these important signs:
| Proofing Stage | Key Indicators |
|---|---|
| Early Proofing | Slight surface bubbles, minimal expansion |
| Mid Proofing | Noticeable volume increase, soft surface |
| Ready to Bake | Doubled in size, finger press leaves slight indentation |
When your chocolate pastry dough is perfectly proofed, it should feel light and airy. Place the shaped loaf seam-side down on parchment paper. Let it rest in a warm, draft-free area.
Baking Temperature and Timing Guide
To make perfect chocolate sweets, you need to get the baking temperature and timing right. With the right oven settings and bake times, your chocolate desserts will turn into a delicious treat.
Begin by heating your oven to 450°F (225°C). This high temperature is key for a crispy, golden-brown crust. It also keeps the inside soft and rich.
- First 20 minutes: Bake covered to trap steam and ensure even cooking
- Next 20-25 minutes: Uncover to develop a crisp, caramelized exterior
- Final temperature check: Internal bread temperature should reach 190°F
Professional bakers know the secret to great chocolate desserts is understanding oven dynamics. Use a digital thermometer to check the internal temperature. This prevents your chocolate from being underbaked or overcooked.
Pro tip: Let your chocolate bread rest for 10-15 minutes after baking. This cooling time helps set the structure and improves the flavor of your chocolate sweets.
Crust Development Techniques
Creating the perfect crust is more than just temperature control. Try placing a shallow pan of water on the bottom rack. This creates steam, helping your chocolate bread get a crispy, golden exterior.
Creative Variations and Add-ins
Turning your basic chocolate bread recipe into a culinary adventure is exciting. Chocolate treats become spectacular with unique ingredients and flavor combinations.
Make your chocolate treats even more delicious by adding exciting mix-ins. Try different chocolate varieties to bring new textures and flavors. Each addition can make your bread go from ordinary to extraordinary.
Nuts and Dried Fruits
Enhance your chocolate bread with these delightful additions:
- Toasted walnuts for a rich, earthy crunch
- Chopped pecans for a buttery sweetness
- Dried cherries that complement dark chocolate
- Dried cranberries for a tart contrast
- Chopped dried apricots for a subtle fruity note
Exploring Chocolate Types
| Chocolate Type | Flavor Profile | Best Pairing |
|---|---|---|
| Dark Chocolate | Intense, slightly bitter | Dried cherries, walnuts |
| Milk Chocolate | Sweet, creamy | Pecans, caramel bits |
| White Chocolate | Smooth, vanilla-like | Macadamia nuts, dried raspberries |
When adding mix-ins, fold them gently into the dough during the final mixing stage. This ensures even distribution. Pro tip: Lightly coat nuts and dried fruits in flour to prevent sinking during baking.
Storage and Preservation Methods
Keeping your homemade chocolate bread fresh is key. You can keep its amazing flavor and texture by using simple storage tips.
For short-term storage, put your chocolate bread in an airtight container at room temperature. This keeps the bread moist and prevents it from drying out fast. Your chocolate bread stays delicious for up to two days when stored right.
- Room temperature storage: Up to 2 days
- Refrigeration: Not recommended
- Freezing: Up to 1 month
Freezing is a great way to keep your chocolate bread for a long time. Slice the bread before freezing for easier thawing. Wrap each slice in plastic wrap, then put them in a freezer-safe bag.
| Storage Method | Duration | Recommended Action |
|---|---|---|
| Room Temperature | 2 days | Store in airtight container |
| Freezer | 1 month | Individually wrap slices |
When you’re ready to enjoy your frozen chocolate bread, thaw slices at room temperature for about 30 minutes. For a freshly baked taste, warm the slice in a toaster oven or briefly toast it.
Pro tip: Always let your chocolate bread cool completely before storing to prevent moisture buildup that can make the bread soggy.
Serving Suggestions and Pairings
Your chocolate loaf is a blank canvas for culinary exploration. Its slightly sweet taste offers a world of possibilities. You can pair it with both sweet and savory items to enhance your bread experience.
- Spread homemade Nutella for intense chocolate indulgence
- Top with fresh berry compote
- Drizzle with warm caramel sauce
- Serve with whipped cream and fresh berries
Savory Flavor Adventures
For a bolder taste, try these savory pairings:
- Spread salted butter for a classic touch
- Create a sandwich with creamy goat cheese
- Top with avocado and sea salt
- Pair with aged cheddar cheese
Perfect Beverage Companions
Enjoy your chocolate loaf with these drink pairings:
- Espresso for an intense flavor profile
- Chai tea for a spicy contrast
- Red wine for an elegant evening treat
- Cold milk for a classic combination
Your chocolate loaf is more than just bread. It’s a culinary adventure waiting to be discovered. Try these suggestions and create your own unique flavors.
Conclusion
Baking chocolate bread turns your kitchen into a sweet workshop. You’ve learned how to make a rich, aromatic loaf. This loaf will wow your family and friends.
Creating chocolate bread is more than just cooking. It’s a journey from mixing to baking a warm, chocolatey loaf. This experience is truly special.
Now, you can get creative in the kitchen. Every batch of chocolate bread is a chance to try new things. You can use different chocolates and add special mix-ins.
Whether you’re new to baking or have been doing it for years, this recipe is a great start. It helps you learn how to make artisan bread.
Baking takes patience and practice. Your first loaf might not be perfect, but you’ll get better with time. Share your bread with others, take pictures, and keep trying new things.
Start enjoying this tasty craft and don’t be afraid to try new things. Your kitchen is now a place where you can create delicious masterpieces. Happy baking!