Delicious Honey Wheat Bread: Homemade Perfection
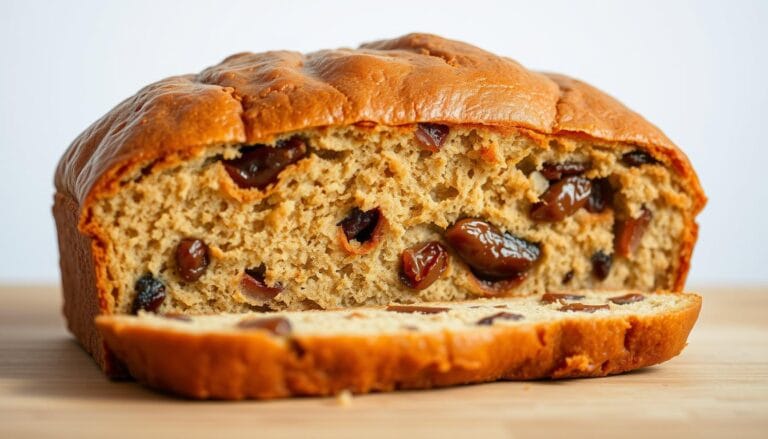
The smell of freshly baked honey wheat bread in my kitchen reminds me of childhood. It’s like warm, comforting slices with creamy butter. Making this bread connects us through taste and tradition.
Making the perfect honey wheat bread is more than baking. It’s creating a piece of culinary art that feeds both body and soul. Your homemade bread will mix the health benefits of whole wheat flour with honey’s sweetness. It’s a loaf that’s both good for you and hard to resist.
Whether you’re an experienced baker or just starting, this recipe will change your baking. You’ll learn how to make a loaf as good as a bakery’s. Your home will fill with warmth and delicious smells.
Table of Contents
Key Takeaways
- Honey wheat bread combines nutrition and flavor perfectly
- Natural sweeteners enhance bread’s taste and texture
- Homemade bread offers superior quality to store-bought options
- Whole wheat flour provides essential nutrients
- Baking bread can be a rewarding and enjoyable experience
Understanding the Magic of Honey Wheat Bread
Making the perfect artisan bread is a mix of science and passion. Honey wheat bread is special because of its unique taste and health benefits. It’s all about how ingredients come together to make a great multigrain bread.

To make amazing honey wheat bread, choosing the right flour and sweetener is key. Let’s look at what makes this bread so unique.
The Perfect Balance of Whole Wheat and White Flour
Bakers say the right flour mix is essential for great bread. Whole wheat flour adds nutrition and flavor, while white flour makes it soft. The perfect mix gives you a bread that’s healthy and tasty.
- Whole wheat flour gives you fiber and nutrients
- White flour makes it soft and tender
- The right mix makes for a better bread
Benefits of Adding Honey as a Natural Sweetener
Honey does more than sweeten your bread. It also improves the flavor and keeps it moist. This makes your bread stay soft and fresh longer than usual.
Why This Recipe Works
The secret of honey wheat bread is its balance. Mixing whole grains, refined flour, and honey makes a bread that’s healthy and delicious. Every slice is a story of careful choice and baking skill.
- Natural ingredients shine through
- Balanced nutritional profile
- Exceptional taste and texture
Essential Ingredients for Your Perfect Loaf
Making delicious homemade bread begins with picking the right ingredients. In healthy baking, each part is key for flavor, texture, and nutrition. Your honey wheat bread needs top-notch ingredients for a tasty loaf.
For your homemade bread journey, you’ll need these key ingredients:
- Whole Wheat Flour: The base of your healthy bread, offering rich taste and nutrients
- Bread Flour: Crucial for a light, airy texture
- Honey: Adds sweetness and softness to your bread
- Active Dry Yeast: Essential for dough rise and complex flavors
- Salt: Boosts taste and controls yeast growth
Choosing the best ingredients can make your healthy baking stand out. Organic honey adds a special touch, while fresh whole wheat flour boosts nutrition. Try different honeys to find your favorite taste.
Pro tip: Use room temperature ingredients for a smooth dough. Always measure accurately for perfect homemade bread every time.
Kitchen Tools and Equipment Needed
Making delicious honey wheat bread needs the right tools and equipment. Whether you’re new to baking or have lots of experience, the right tools can make a big difference. They can help you succeed in making bread.
Bread Machine vs. Traditional Baking Methods
You can choose from two main ways to make bread:
- Bread Machine: Great for beginners, it does the mixing and kneading for you
- Traditional Methods: Use a stand mixer or knead by hand for a more hands-on experience
Precise Measuring Tools
Getting your measurements right is key in bread making. You’ll need:
- A digital kitchen scale
- Graduated measuring cups
- Measuring spoons
Selecting Baking Pans and Surfaces
The type of baking pan you choose can affect your bread’s texture and shape. Consider these options:
- Ceramic loaf pans for even heat
- Metal non-stick pans for easy bread release
- Glass baking dishes for easy monitoring
Professional bakers know that the right tools can turn simple ingredients into amazing bread. Pick tools that fit your skill level and baking style.
Step-by-Step Mixing and Kneading Process
Learning to mix and knead is key to making tasty homemade bread. It doesn’t matter if you use a bread machine or traditional methods. Knowing the right steps can make all the difference.
If you’re using a bread machine, how you arrange your ingredients is very important. Here’s how to get the best results:
- Start with liquid ingredients
- Put dry ingredients on top of the liquids
- Make a small hole in the flour for the yeast
- Make sure yeast doesn’t touch the liquid or salt
For those who prefer traditional bread making, here’s what to do:
- Mix dry ingredients in a big bowl
- Make a well in the flour for wet ingredients
- Mix until the dough starts to come together
- Knead on a floured surface for 8-10 minutes
Here are important signs to look for while kneading:
| Texture Indicator | What It Means |
|---|---|
| Sticky and wet | Need more flour |
| Smooth and elastic | Perfect kneading achieved |
| Dry and crumbly | Add small amounts of water |
Pro tip: Consistent kneading develops gluten, creating that perfect texture in your honey wheat bread.
Mastering the Art of Dough Rising
Getting good at making bread means mastering the dough rising process. The success of your artisan bread depends on creating the perfect environment for fermentation. This stage turns simple ingredients into a light, airy loaf with rich flavor and texture.
To perfect the rise, focus on a few key elements. These can take your bread making to the next level:
- Temperature control is crucial for optimal dough development
- Humidity plays a significant role in preventing dough from drying out
- Understanding visual cues helps determine perfect rising conditions
Creating the Ideal Rising Environment
Your bread’s success begins with the right conditions. Aim for a warm, draft-free space between 75-80°F. A turned-off oven with a pan of warm water is perfect. Consistent warmth encourages yeast activity and ensures even rising.
Visual Cues for Perfect Dough Development
Look for these signs that your dough is rising right:
- Dough should approximately double in size
- Gentle press with a finger leaves a slight indentation
- Surface appears smooth and slightly puffy
Timing Your Rise Periods
Patience is key in bread making. The first rise takes 1-2 hours, and the second rise after shaping might need 30-60 minutes. Listen to your dough – environmental factors like humidity and temperature can affect rising time.
Professional bakers know that practice makes perfect. Each batch of bread teaches you more about reading your dough’s unique characteristics.
Shaping Techniques for Professional Results
Learning to shape dough is key in making artisan bread. The way you shape your honey wheat bread affects its texture, look, and quality. Professional bakers aim for a loaf that looks great and has an even crumb.
To get professional results, follow these important steps:
- Prepare a clean, lightly floured surface for shaping
- Gently deflate the risen dough by pressing out air bubbles
- Stretch the dough into a rectangular shape
- Roll the dough tightly from the short side
- Pinch the seam closed to seal the roll
- Tuck the ends under to create a smooth top
The secret to a perfect artisan bread shape is consistent tension. When rolling, use gentle but firm pressure. This makes the loaf tight and helps it rise evenly in the oven.
Professional bakers say to handle the dough gently. Too much pressure can make the bread tough. Practice shaping to get better at making beautiful honey wheat bread every time.
Proper Baking Temperature and Timing
Baking homemade bread needs precision and care. The right temperature and timing can make your bread amazing. It’s key for a perfect crust and soft inside of your honey wheat bread.
Your oven is crucial for a tasty homemade bread. Professional bakers say consistent temperature and watching closely are important.
Monitoring Your Bread During Baking
Here are key tips for baking your honey wheat bread:
- Preheat the oven to 375°F (190°C)
- Put the bread in the oven’s center
- Bake for 25-30 minutes
- Check the bread often to avoid over-browning
Testing for Perfect Doneness
Here’s how to know when your bread is just right:
- Internal Temperature Test: Use a food thermometer to see if the bread’s center is 190°F (88°C)
- Tap Test: Tap the bread’s bottom gently. A hollow sound means it’s done
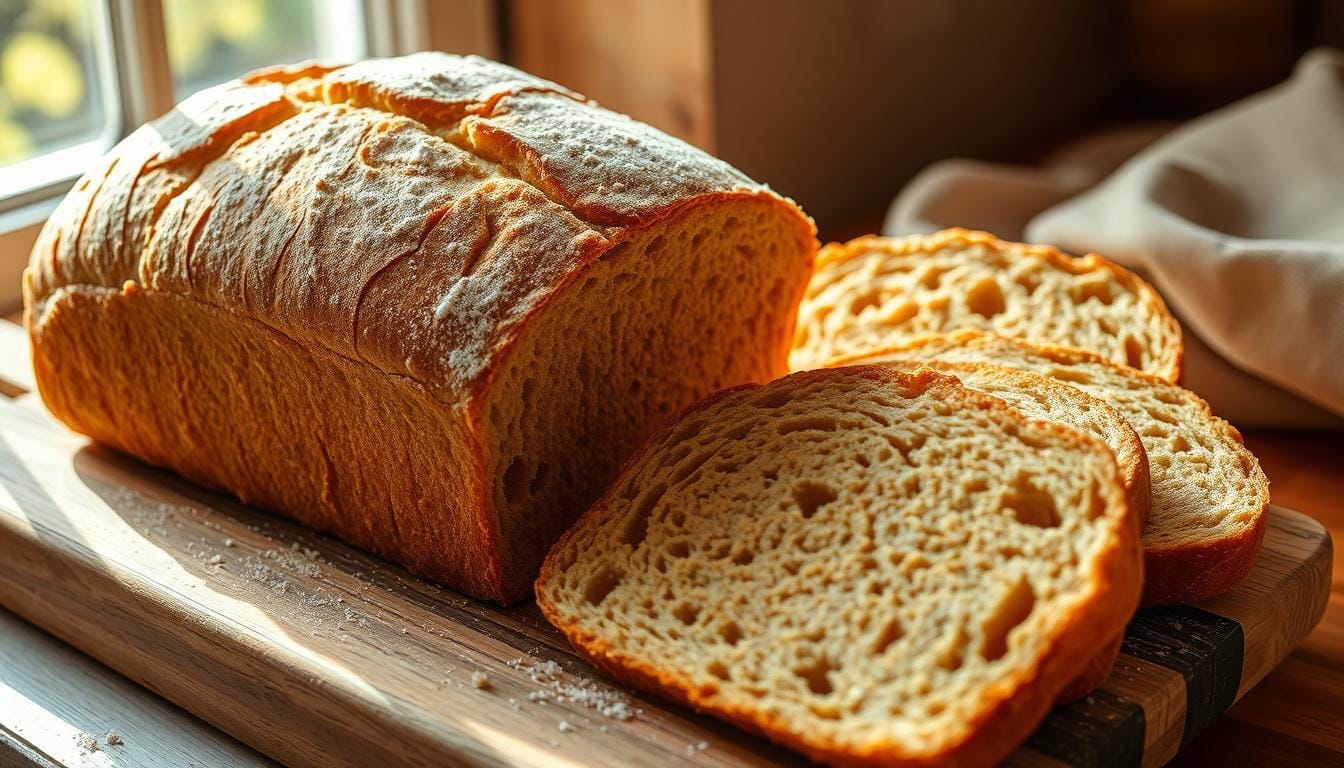
- Color Check: Look for a golden-brown crust
Pro tip: If the crust browns too fast, cover it with foil halfway through. This stops burning and cooks the inside well.
Storage Tips and Shelf Life
Keeping your homemade bread fresh is key. Your tasty creations need the right care to stay delicious. Here are some tips to help your bread last longer.
For the best results, store your honey wheat bread at room temperature. Put it in a bread box or a sealed container. This way, it stays soft for 2-3 days.
- Use a bread box with good air circulation
- Keep bread away from direct sunlight
- Avoid storing near heat sources
For longer storage, try these:
- Refrigeration: Wrap the bread tightly in plastic wrap or aluminum foil. It can last up to one week in the refrigerator.
- Freezing: Wrap the bread securely and freeze for up to three months. Thaw at room temperature when ready to eat.
Whole wheat flour needs extra care. Store it in an airtight container in the fridge or freezer. This keeps it fresh for your next baking project.
Pro tip: Slice your bread only as needed. Whole loaves stay fresher longer when left uncut until you’re ready to enjoy them.
Troubleshooting Common Honey Wheat Bread Issues
Mastering homemade bread takes patience and practice. Even skilled bakers face challenges with honey wheat bread. Knowing common bread making techniques can help you solve problems and get great results.
Perfect bread comes from spotting and fixing problems early. Your dedication to learning will turn baking mistakes into chances to get better.
Solving Dense and Heavy Loaves
Dense bread can come from a few main reasons:
- Insufficient yeast activation
- Inadequate rising time
- Incorrect flour measurements
- Old or expired yeast
To avoid dense bread, make sure your yeast is fresh and active. Use warm liquids between 100-110°F to activate yeast well. Give your dough enough time to rise in a warm, draft-free spot.
Resolving Crust Complications
Crust issues can mess up your bread making. Look out for these common problems:
- Overly dark or burnt exteriors
- Tough, hard crusts
- Pale, underdeveloped surfaces
Be careful with your oven temperature. Use an instant-read thermometer to check the bread’s internal temperature. Covering your bread with aluminum foil for the last 10-15 minutes of baking helps avoid too much browning.
Remember, bread making gets better with practice. Every loaf teaches you something new about making perfect honey wheat bread at home.
Conclusion
Making honey wheat bread at home is more than just baking. It’s a journey into healthy baking. You’ve learned how to turn simple ingredients into a nutritious, aromatic loaf.
Your skills in making honey wheat bread will impress everyone. It’s a healthier choice than store-bought bread. Every time you bake, you’re making something special. It connects you to traditional baking and nourishes your body.
Don’t be afraid to try new things. Experiment with different flours, honey types, or add seeds and nuts. Remember, practice makes perfect. Each loaf you make brings you closer to mastering this art.
We encourage you to share your bread-making stories. Your feedback and questions help build a community of home bakers. We’re all passionate about making delicious, wholesome bread from scratch.